VR Scene Inspection
The VR Scene Inspection add-on exposes and extends the native virtual reality features of Blender in the user interface. The feature set is limited to scene inspection use cases. More advanced use cases may be enabled through further development inside of Blender.
VR support in Blender is based on the OpenXR specification and requires some set up steps. These are explained in the Head-Mounted Displays (HMD) section.
- Enabling Add-on
Open Blender and go to Add-ons section of the Preferences.
Search “VR Scene Inspection” and check the Enable Add-on checkbox.
The VR Scene Inspection add-on interface is located in . Its different panels and features are described in the following sections.
VR Session

- Start VR Session
Try to set up a connection to the OpenXR platform to share the viewport with an HMD.
- Tracking
- Positional
Only track rotational changes of the head, do not allow the HMD to affect the location of the viewer in virtual space.
- Absolute
Skip eye offsets that are normally added for placing the viewer exactly at landmarks. This allows the tracking origin to be defined independently of the HMD position.
- Use Controller Actions
Enable default controller actions for viewport navigation, controller tracking, and haptics.
View Settings
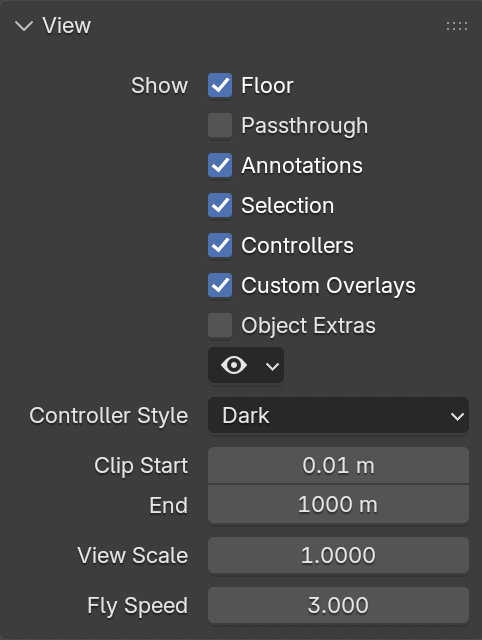
- Show
- Floor
Set visibility of the ground plane in the VR view.
- Annotations
Set visibility of annotation strokes in the VR view.
- Selection
Set visibility of selection outlines in the VR view.
- Controllers
Set visibility of VR motion controllers. Requires enabling the Use Controller Actions option.
- Custom Overlays
Set visibility of custom operator drawing (e.g. default teleport beam).
- Object Extras
Set visibility of object extras, including empties, lights, and cameras.
- Object Type Visibility
Set visibility of objects by type.
- Controller Style
Preferred visualization of VR motion controllers.
- Clip Start/End
Clipping values of the VR view, as in the 3D Viewport.
- View Scale
Scaling factor applied to the VR view for fine adjustments.
- Fly Speed
Movement speed of the VR view when flying around the scene.
Location Scouting
Location Scouting allows the user to capture camera vantage points and assess the camera lens, focus, and aperture settings while being immersed within the 3D environment.
Capturing Shots
Capturing is done inside the VR session using a virtual director’s viewfinder, enabled in .
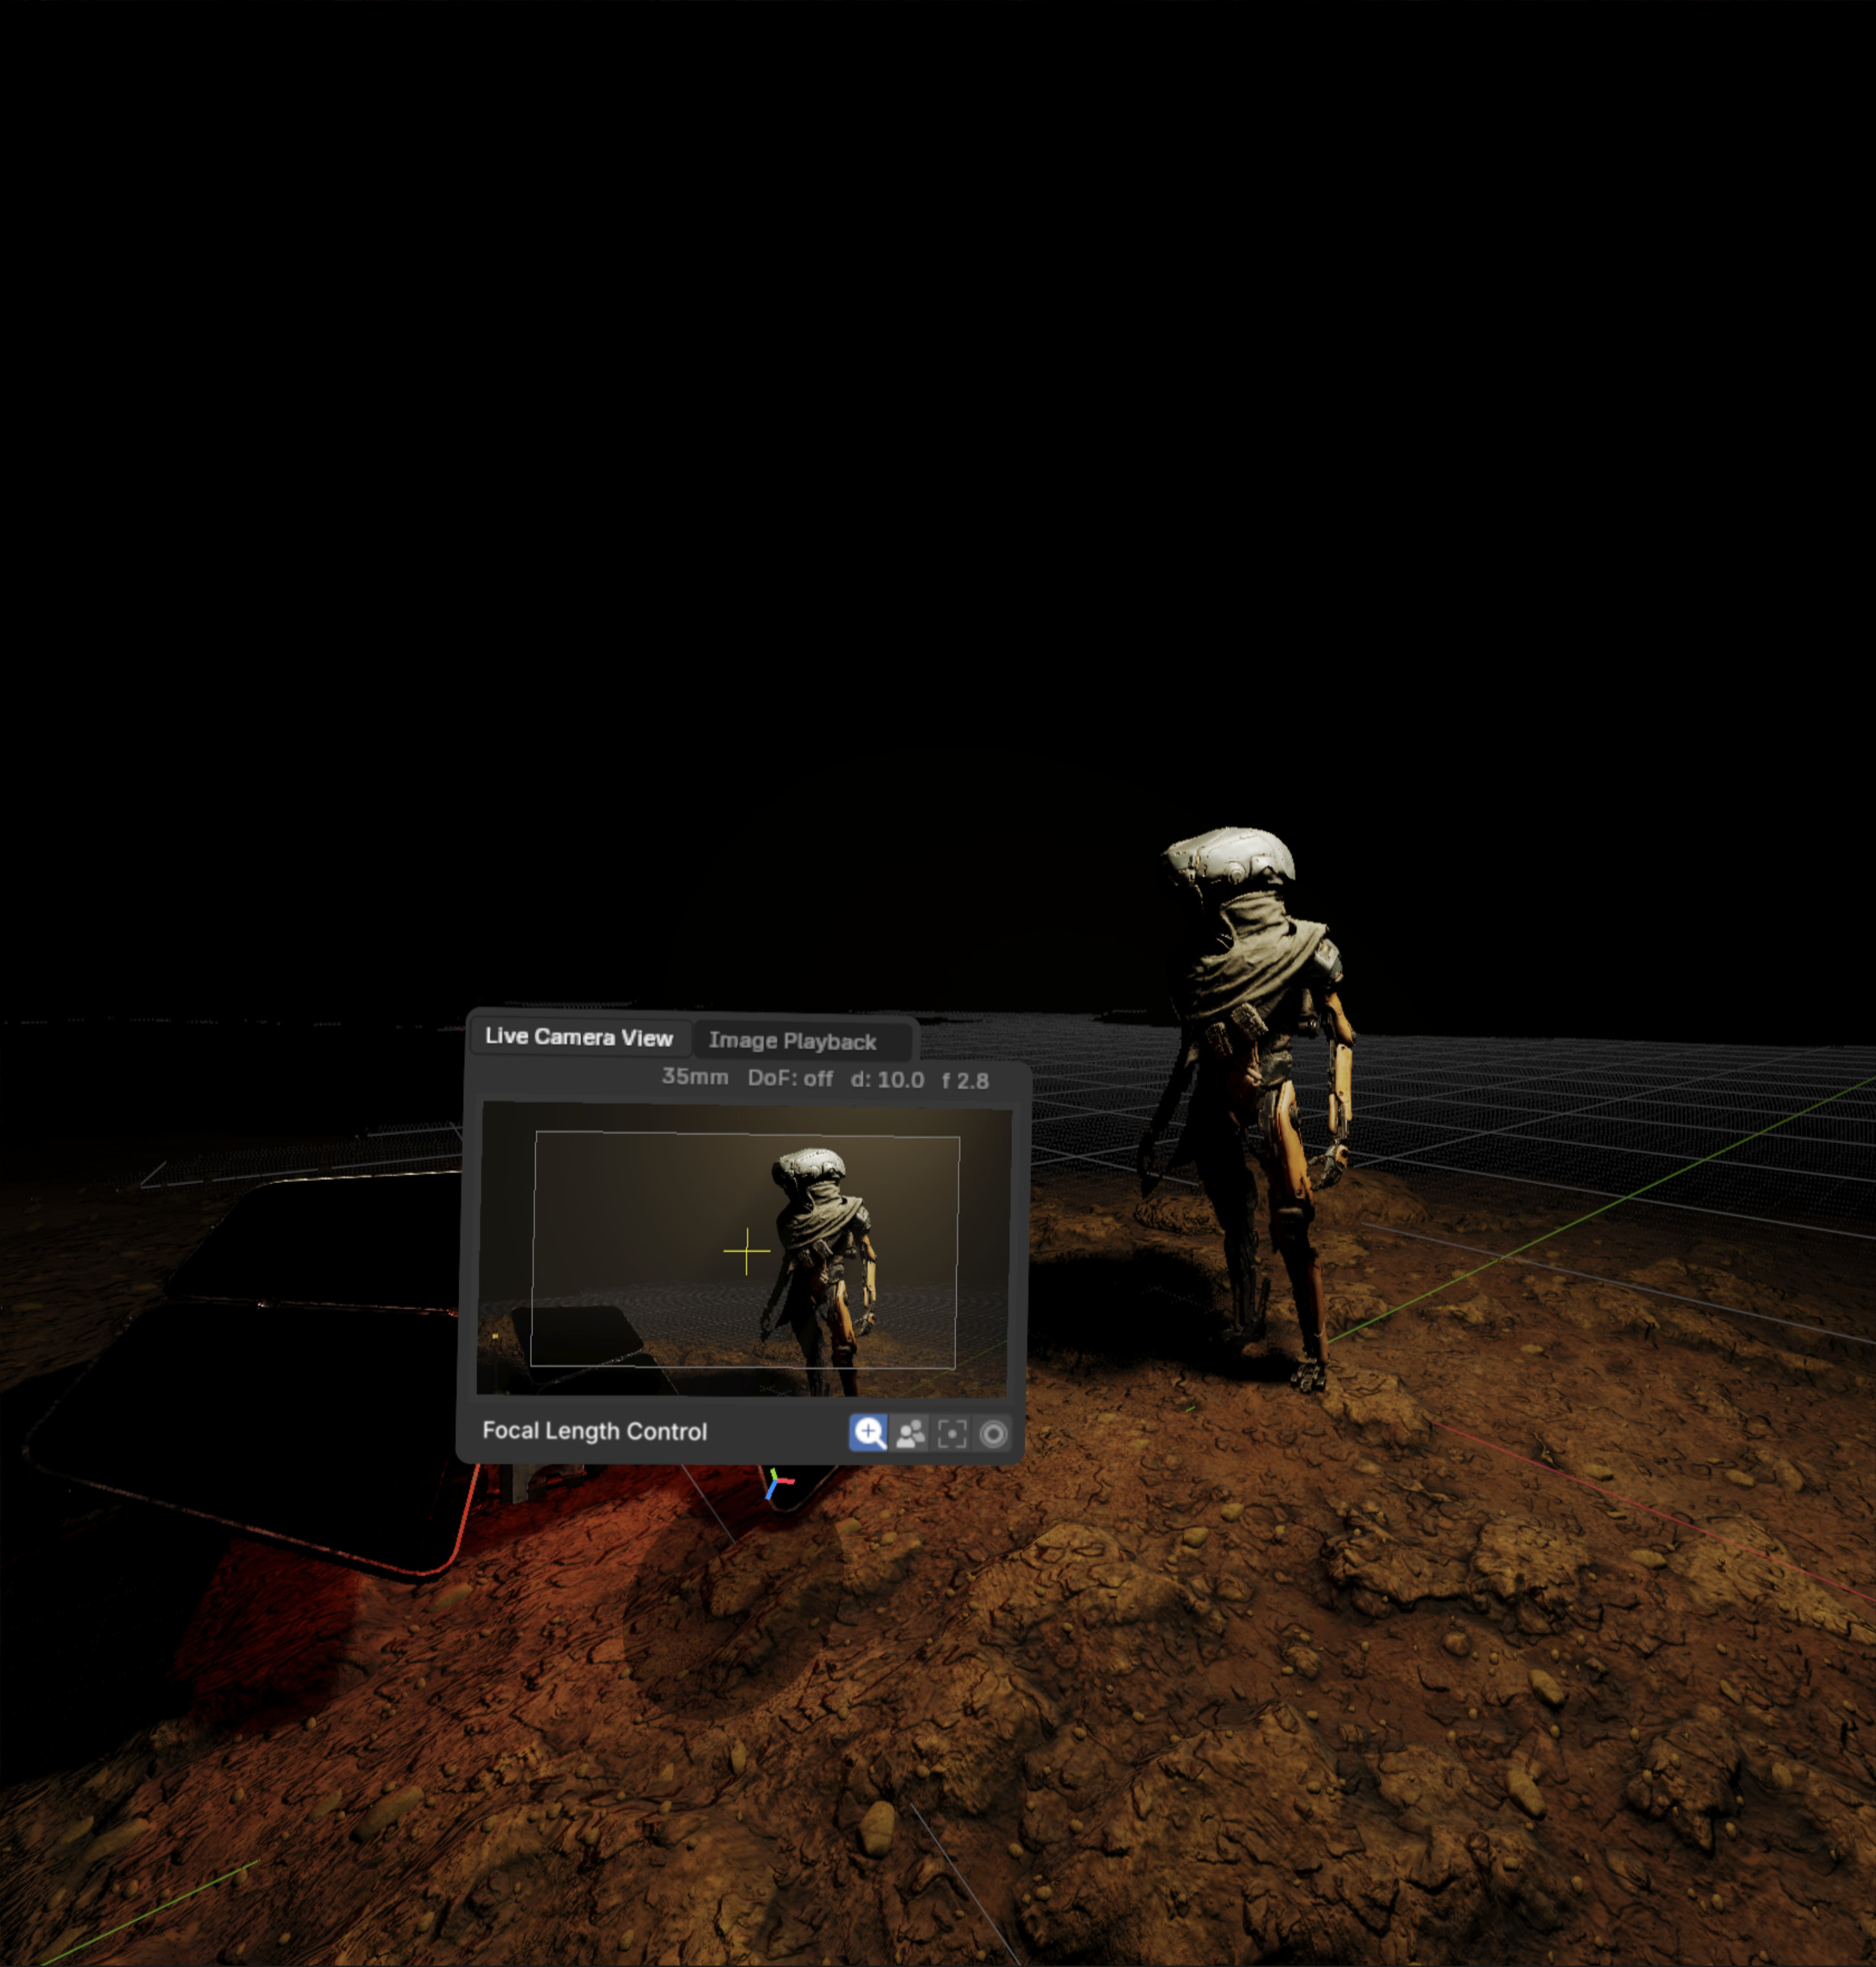
Capturing a shot - Scene by Daniel Bystedt.¶ |
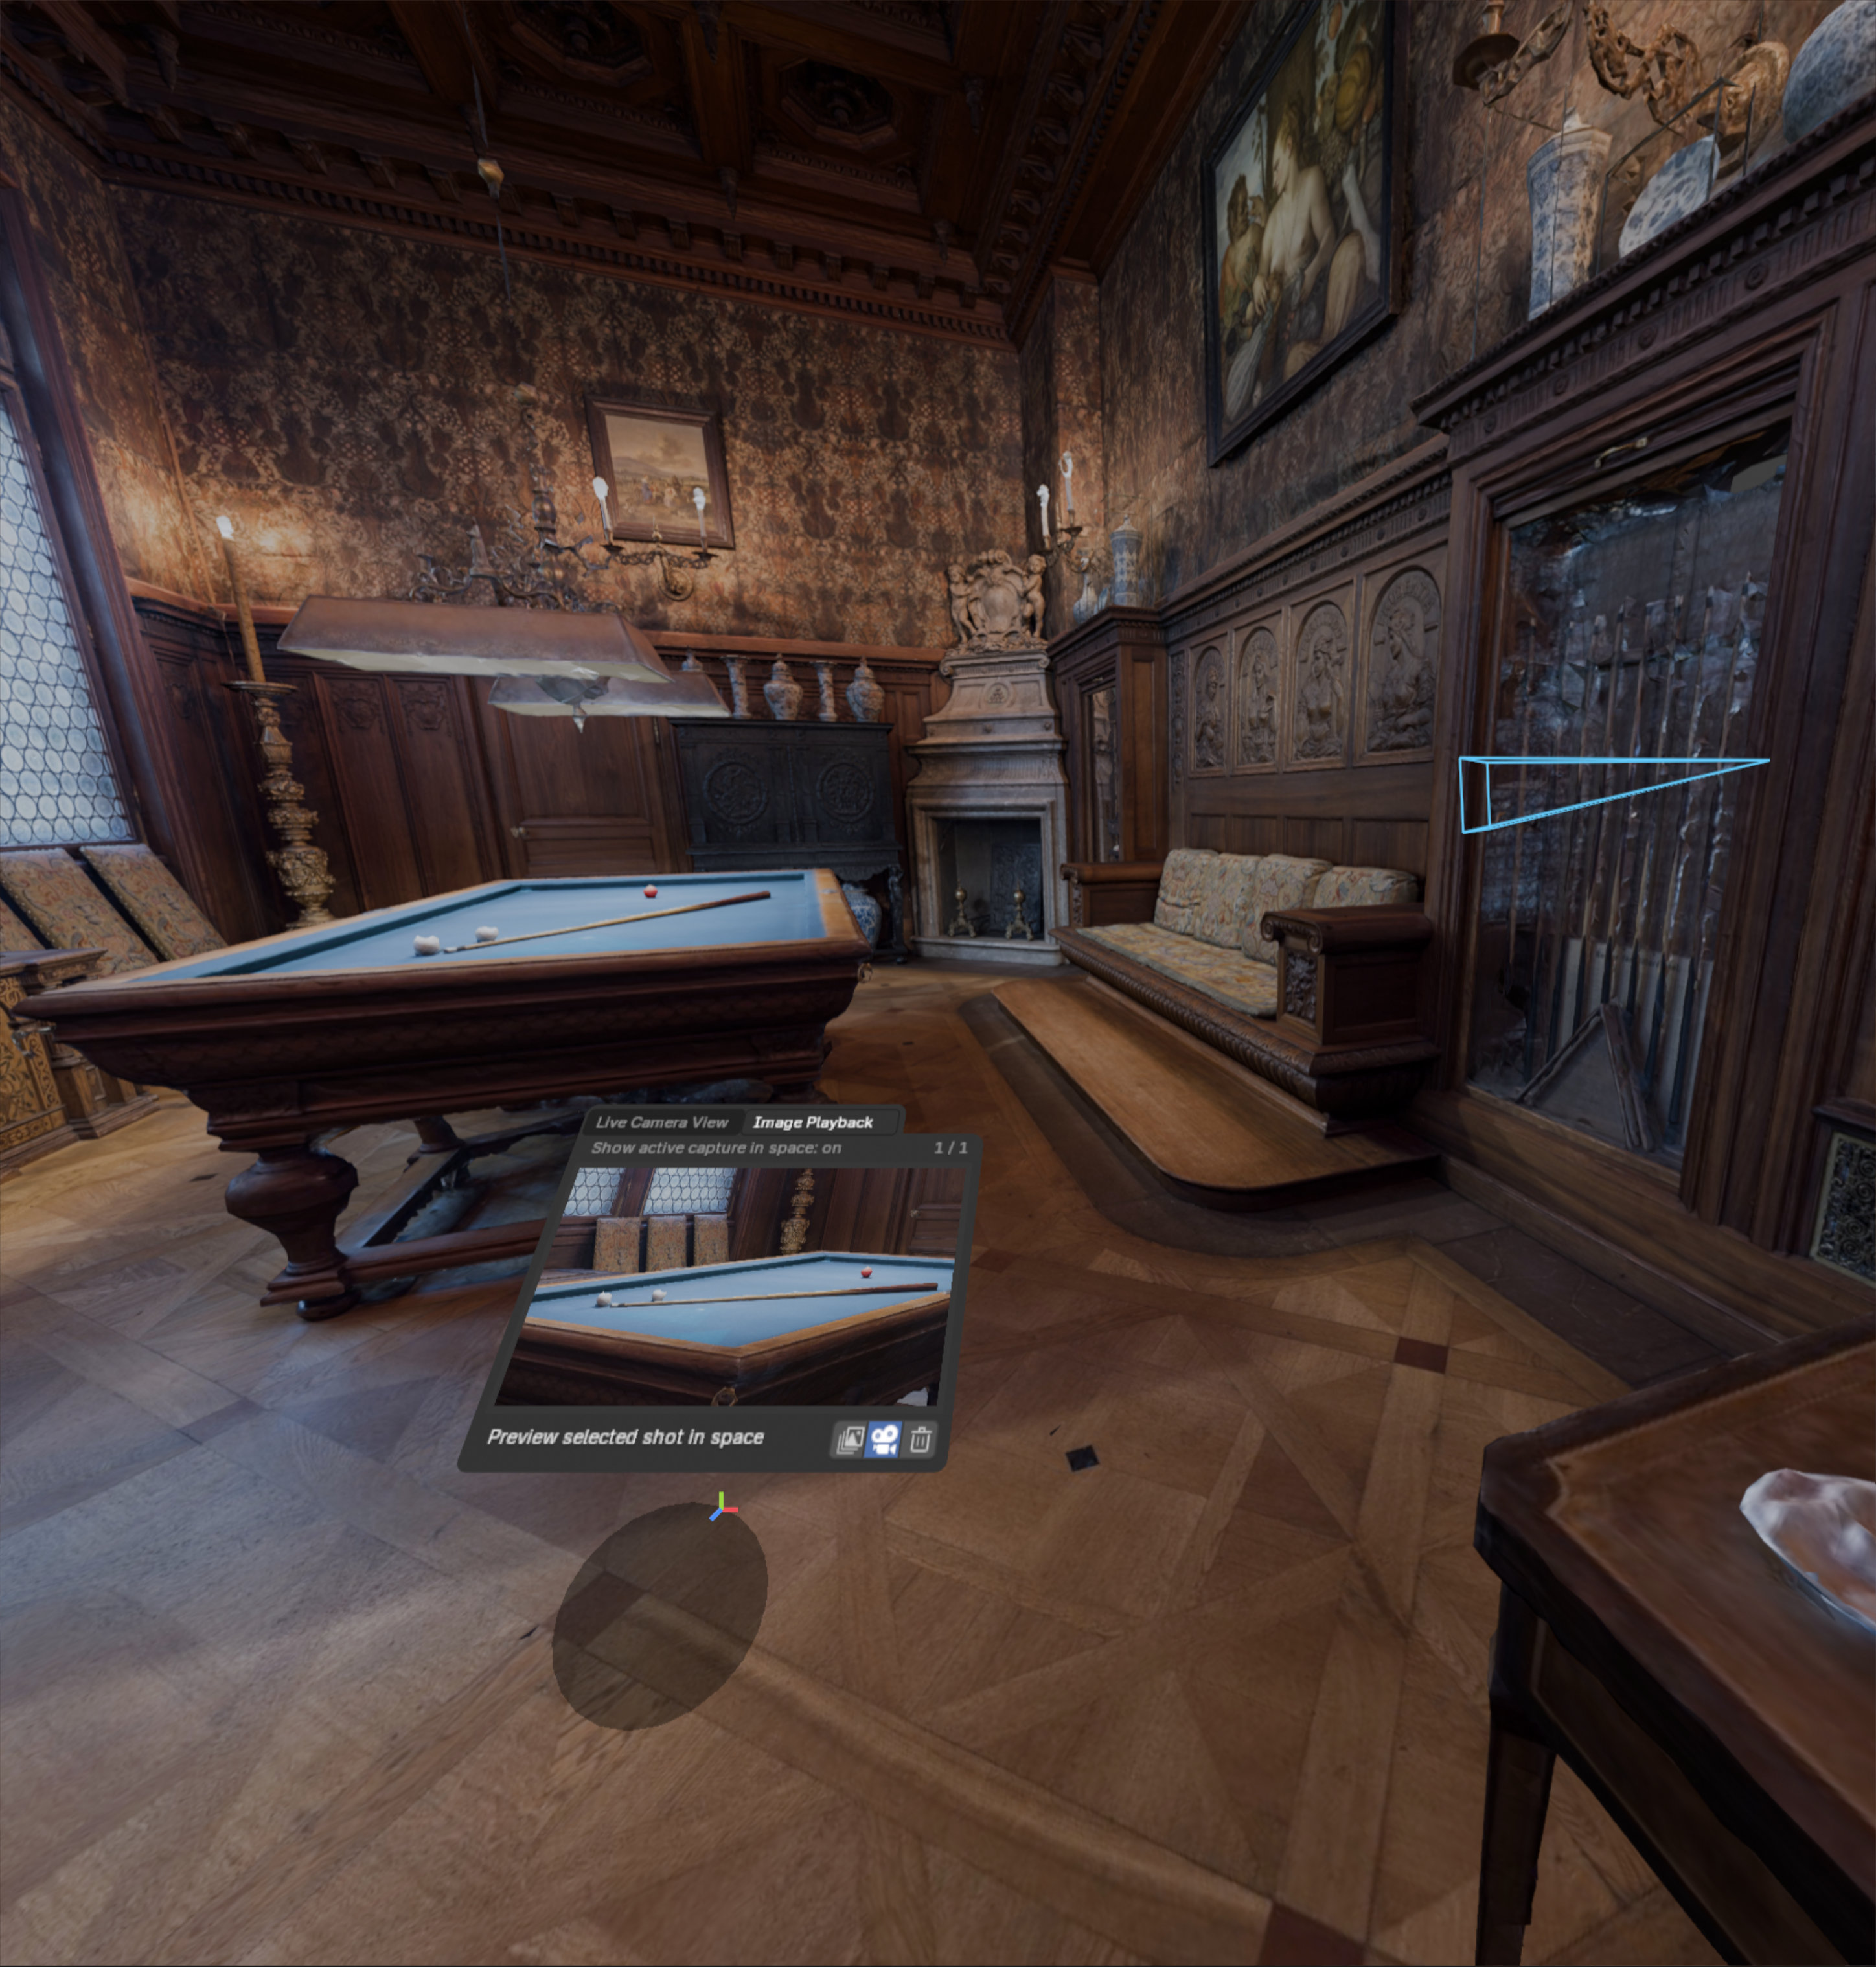
Playing back a shot - Hallwyl Museum - CC-BY.¶ |
Using the Viewfinder, the user can control the camera settings, capture shots, and play back shots, while staying immersed in the VR environment. Once captured, shots can later be converted into scene cameras or markers during review.
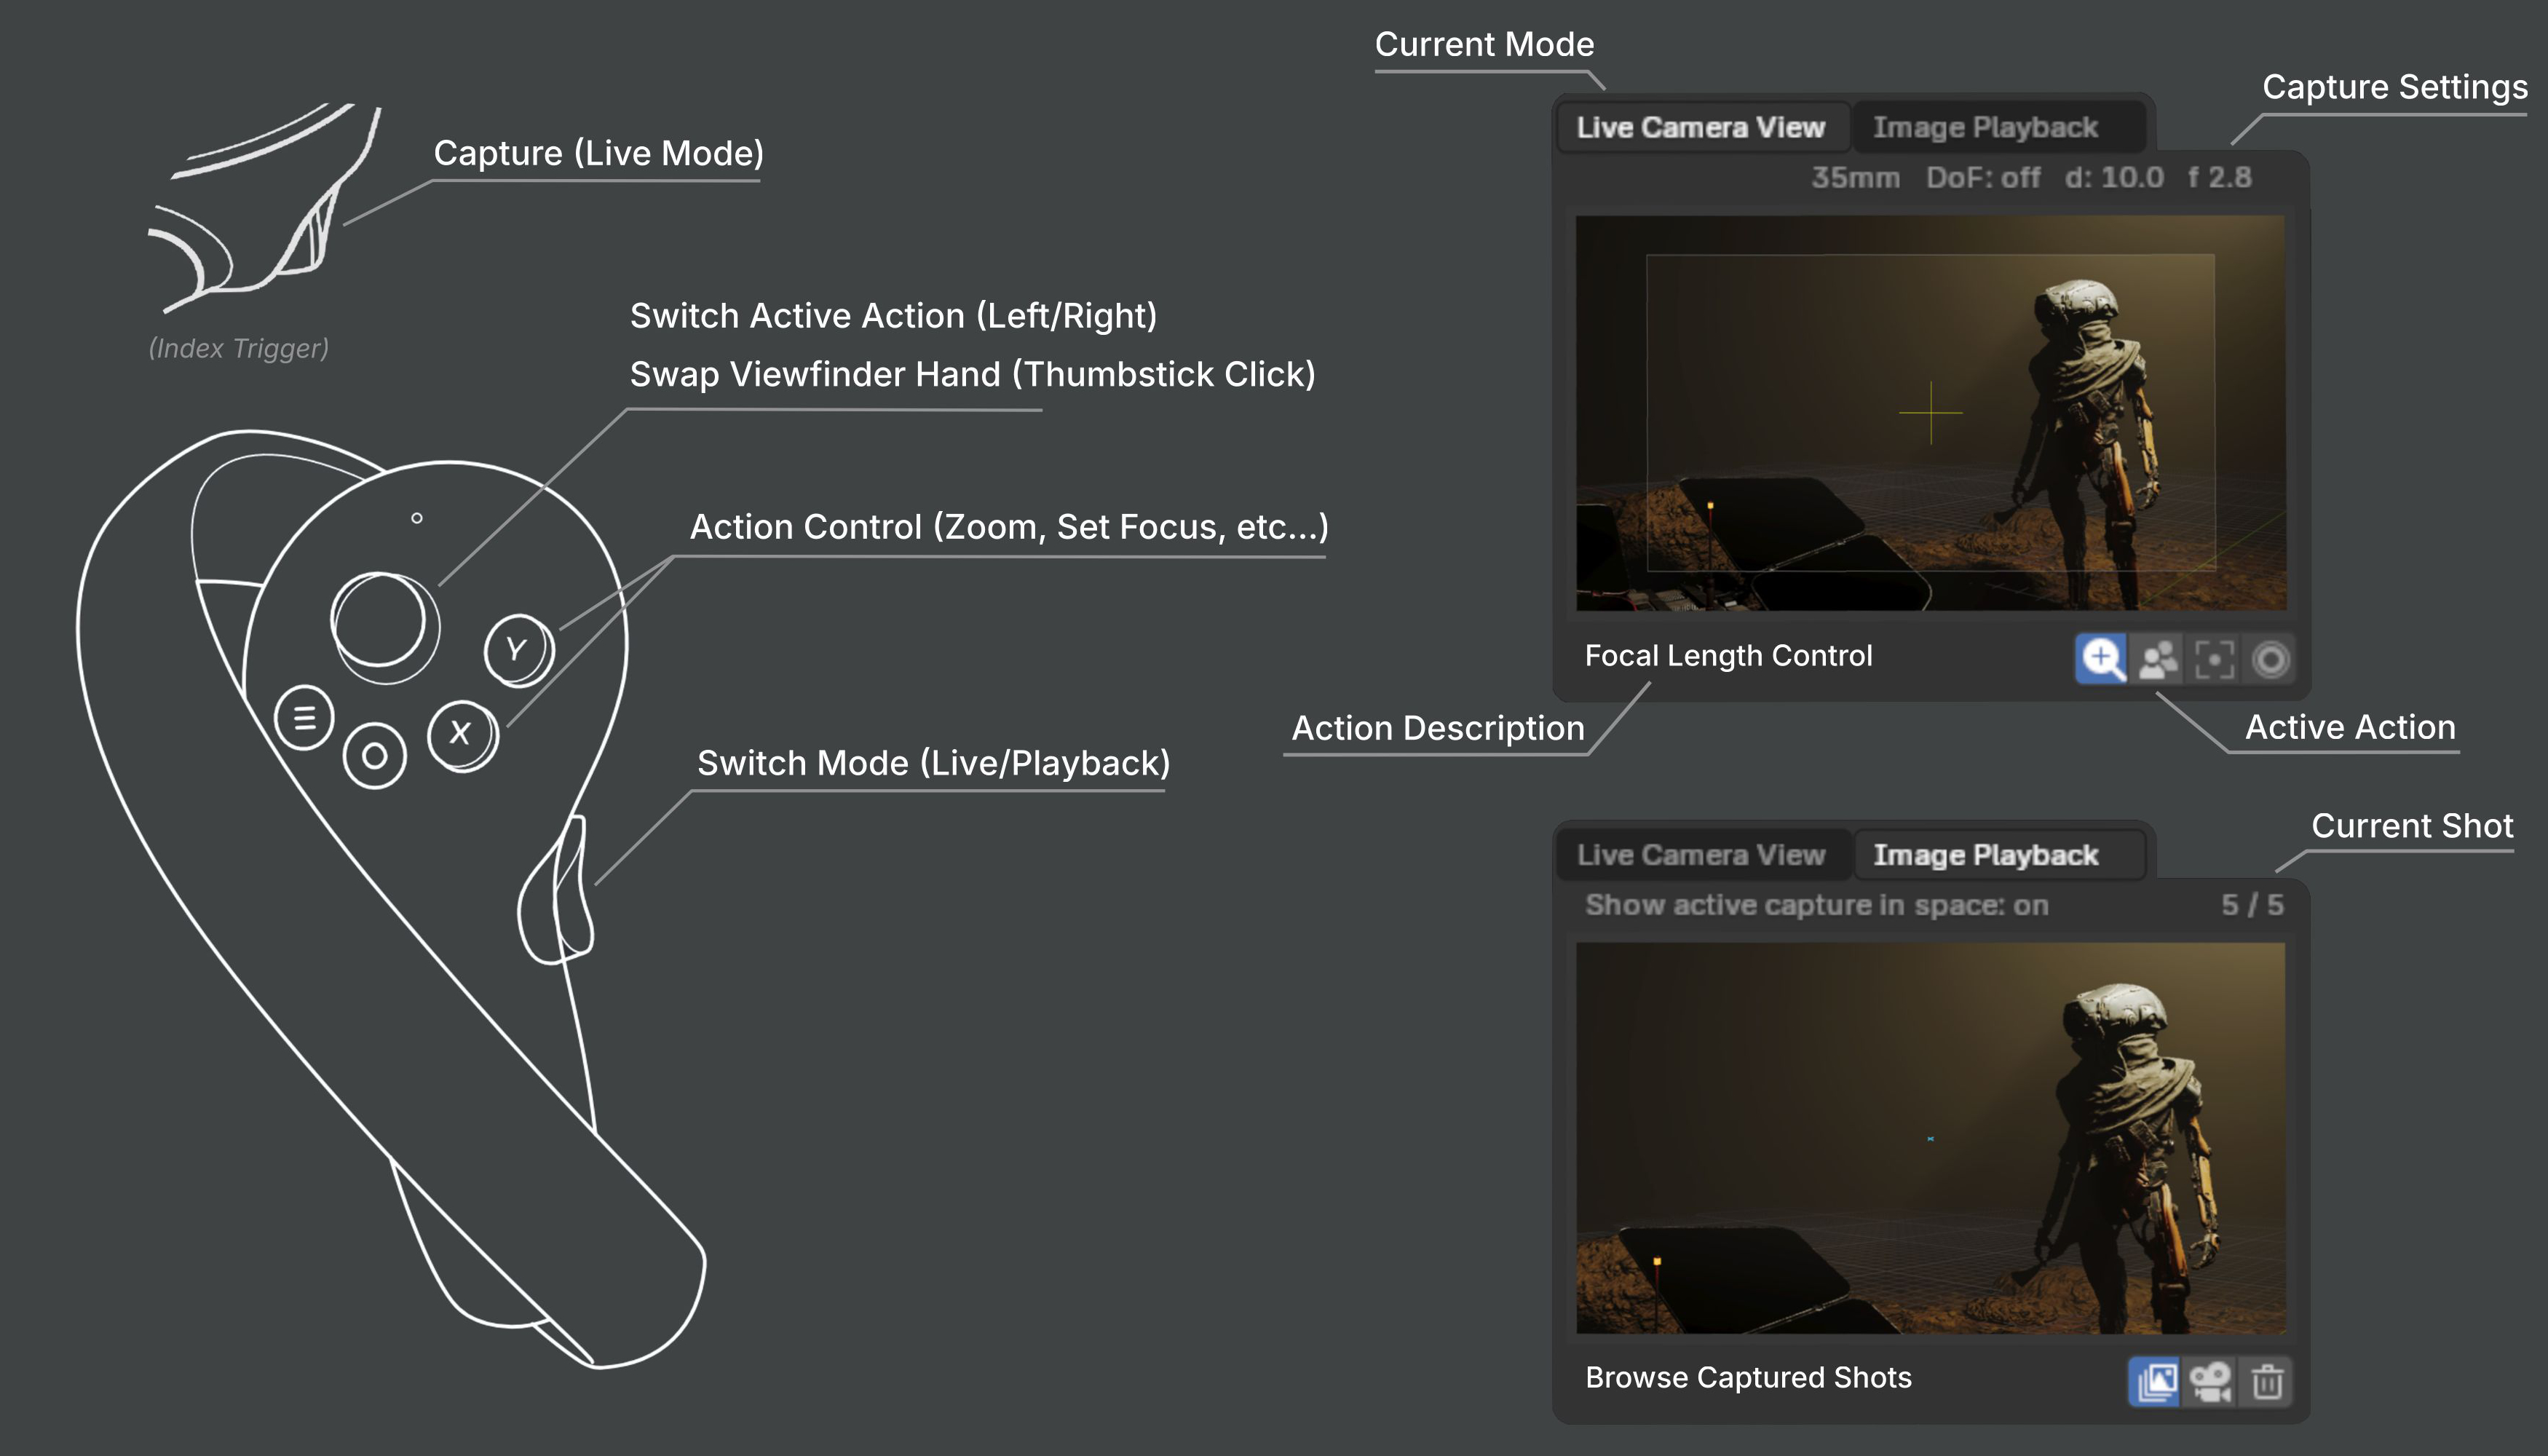
VR Location Scouting Viewfinder Controls Diagram
- Live Mode Actions
- Focal Length Control
Increase / decrease the focal length (zoom) by pre-defined increments.
- Toggle Depth of Field
Enable / disable Depth of Field, displayed visually within the Viewfinder and stored in the captured shot.
- Set Focus Point
Set the Viewfinder focus point by aiming at the target. The Viewfinder crosshair will flash blue on successful focus, and red on failure.
- Aperture Control
Increase / decrease the F-Stop ratio (which defines the amount of blurring) by pre-defined increments.
- Playback Mode Actions
- Browse Captured Shots
Browse captured shots, switching to next / previous capture.
- Preview Active Shot in Space
Enable / disable display of the active capture in VR space as a camera overlay.
- Delete Active shot
Delete the active shot. User confirmation is requested before deletion.
Reviewing Shots
Reviewing is done from the VR Location Scouting sidebar in the desktop 3D Viewport. From this panel, users can review shots, create cameras and markers from captured shots, and modify the VR Viewfinder settings.
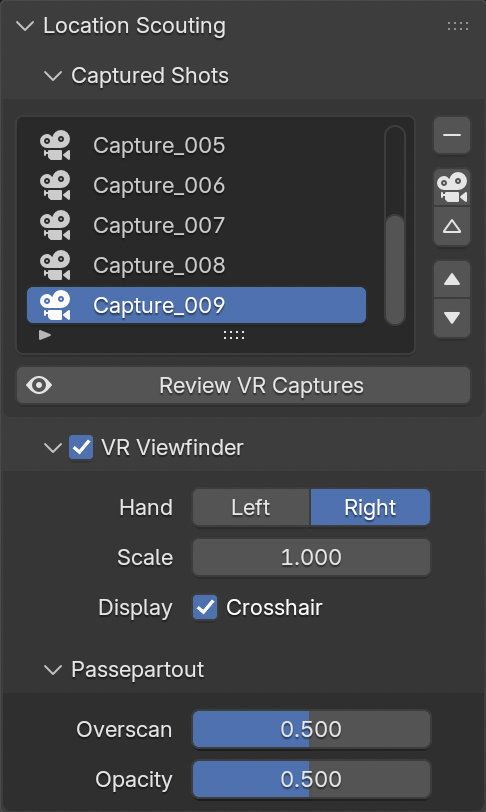
- Captured Shots List
A list view.
- Remove Capture
Remove the selected capture.
- Add Camera from Capture
Create a new camera object from the selected capture.
- Add Marker from Capture
Create a new marker from the selected capture.
- Browse Captures
Browse up/down the captured shots list.
- Review VR Captures operator
This modal operator allows users to interactively review captures from the desktop 3D Viewport.
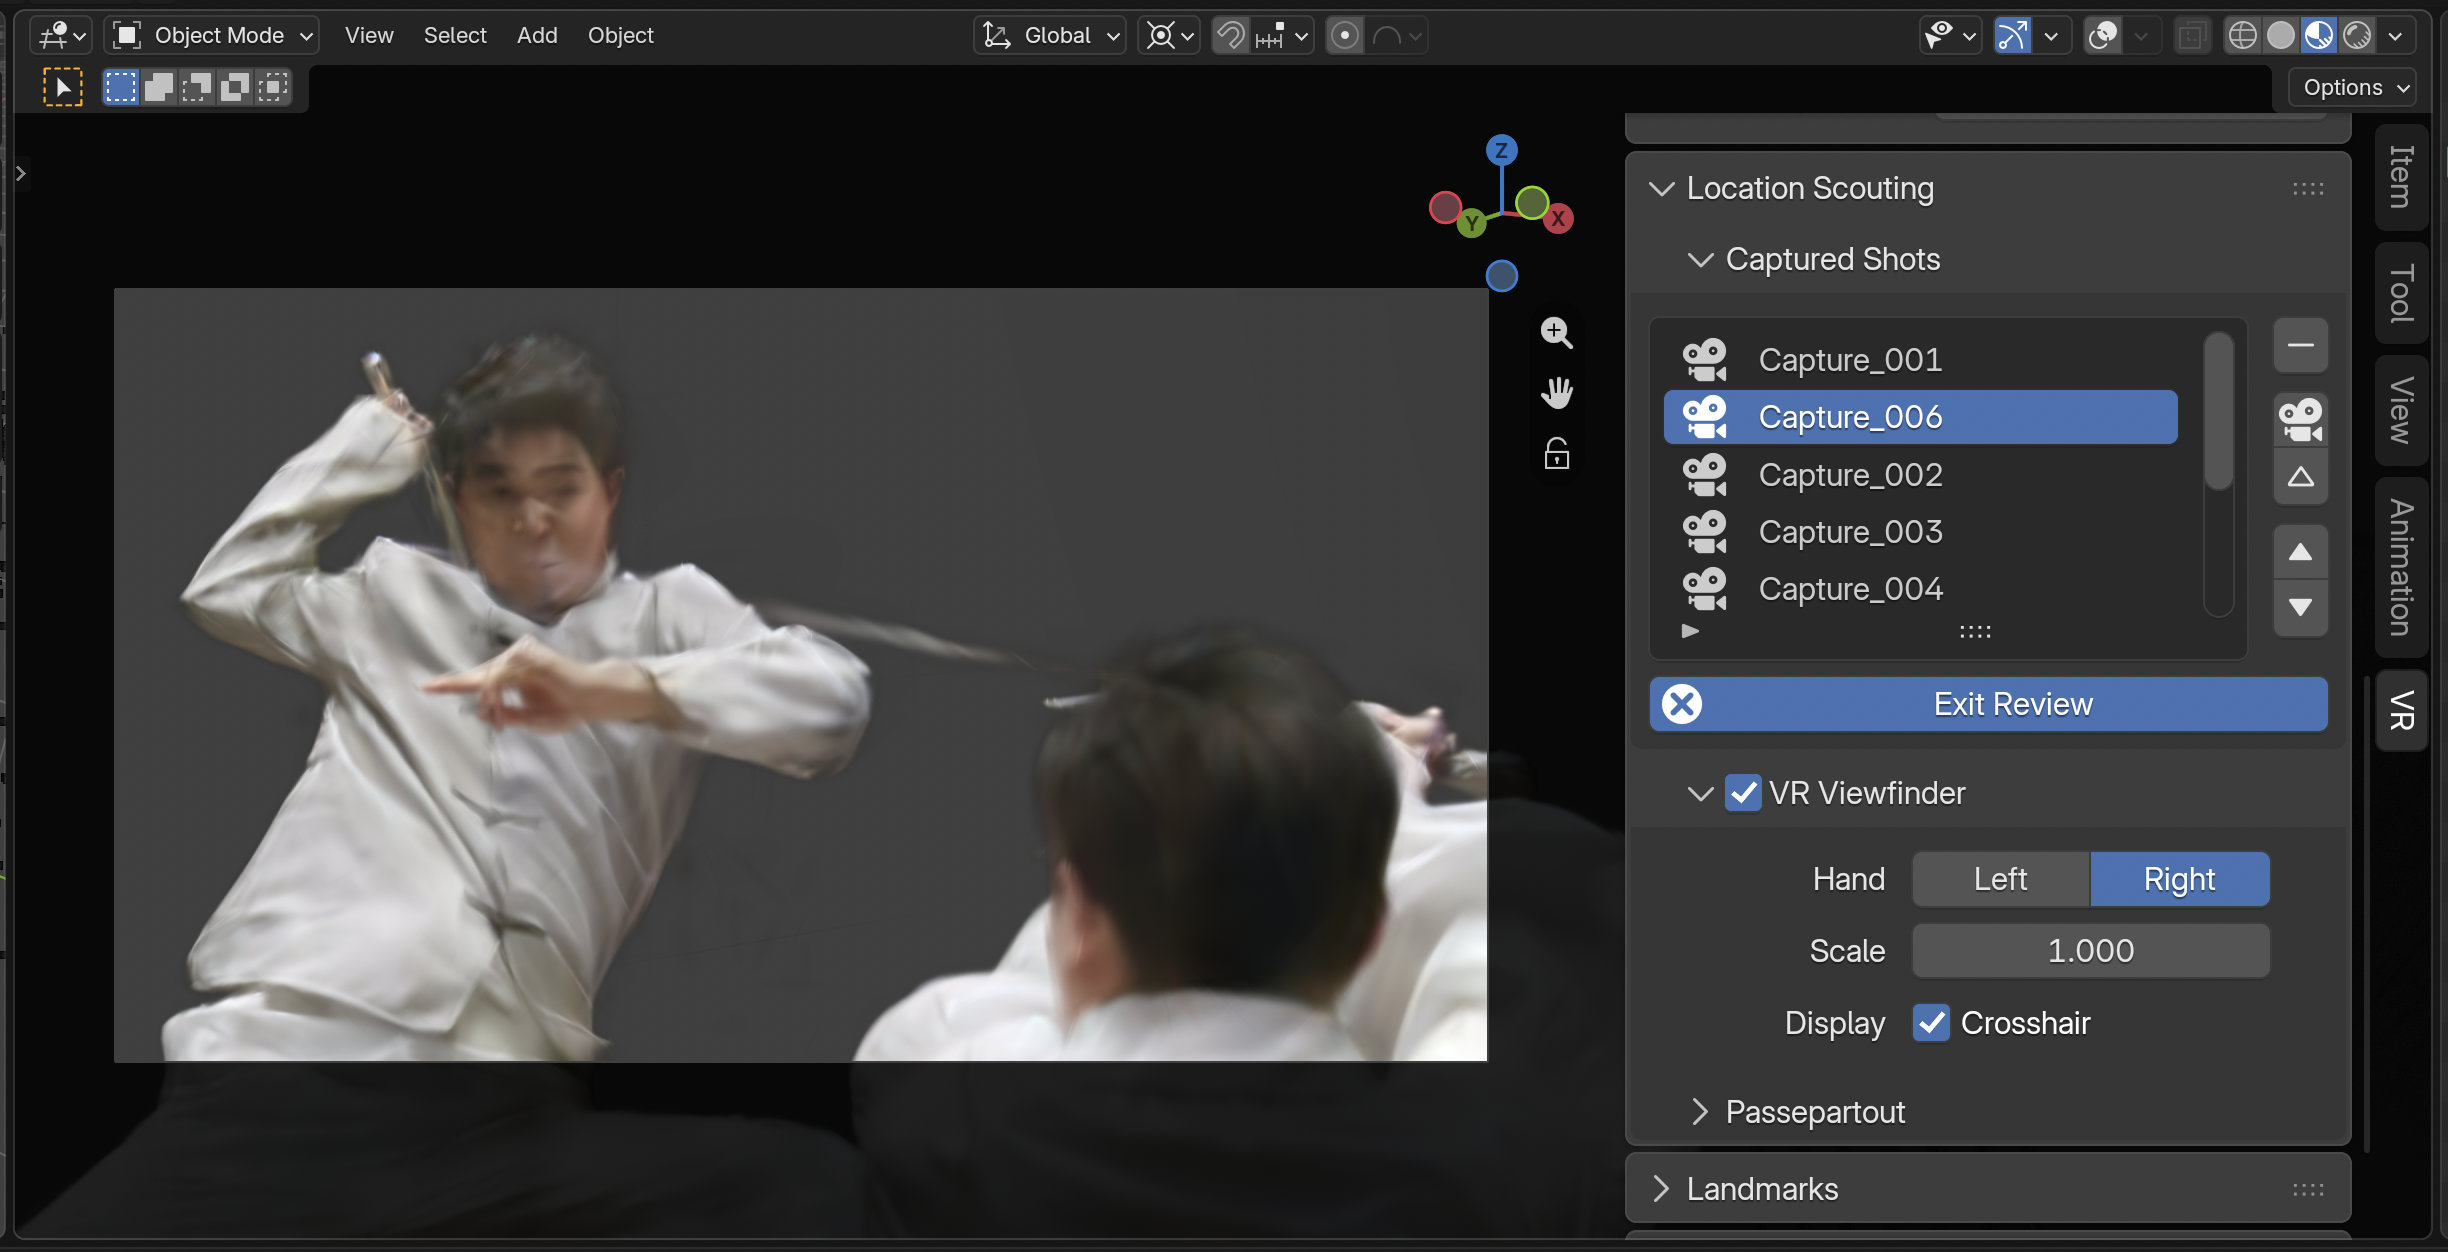
Reviewing a shot in the desktop 3D Viewport - Scene by Zhi Wang / Mediastorm + 4DV.ai - CC-BY.
Once enabled, the 3D Viewport will be set to the active capture. The user may then browse and convert captures by either using the Captured Shots List, or the following keyboard controls:
Up
Previous Capture
Down
Next Capture
C
Add Camera from Capture
M
Add Marker from Capture
ESC/RMB
Exit Review
This operator is non-blocking. Clicking the Exit Review button or leaving the active 3D Viewport area will cause it to exit.
VR Viewfinder Settings
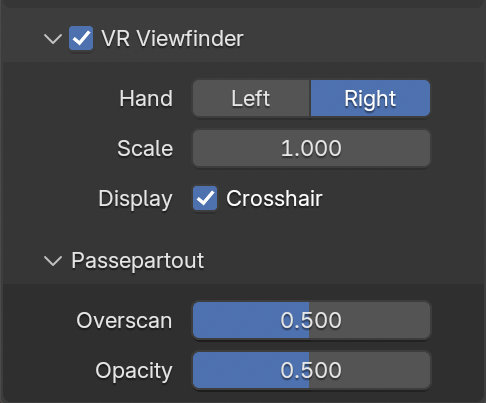
- Hand
The hand on which the Viewfinder is displayed. This setting can also be changed directly from within the VR Session via controller Thumbstick Click.
- Scale
Visual height / width size scale of the Viewfinder.
- Display Crosshair
Whether to display the Viewfinder aiming crosshair, also used for the Set Focus Point Viewfinder Live Action feedback.
- Passepartout
Controls the darkened overlay shown outside the captured frame, similar to the camera object passepartout overlay setting.
- Overscan
Border size of the darkened passepartout overlay.
- Opacity
Opacity of the darkened passepartout overlay.
Landmarks
Landmarks are used to store reusable base poses (position and rotation) for the viewer in the virtual space. In addition, a base viewer reference scale can be set for landmarks of types Custom Object and Custom Pose.
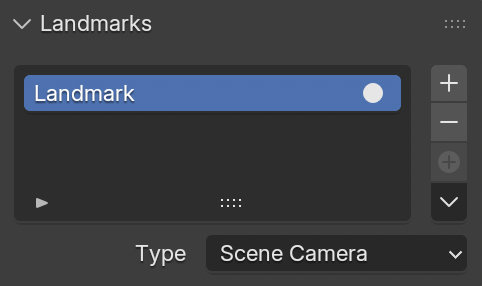
- Landmark List
A list view.
The selected landmark defines which landmark’s settings are shown below the list. Changing the selected landmark does not have an influence on the VR view.
- Activate VR Landmark
Activates a landmark, making it change the base pose of the VR view.
- Add VR Landmark
Create a landmark.
- Remove VR Landmark
Delete the selected landmark.
- Add from Session
Create a landmark from the viewer pose of the running VR session.
- Landmark Controls
- Add Camera and VR Landmark from Session
Create a new camera and landmark from the viewer pose of the running VR session.
- Add Landmark from Camera
Add a new landmark from the active camera object.
- Update Custom Landmark
Update the selected landmark from the current VR viewer pose.
- Cursor to Landmark
Move the 3D Cursor to the selected landmark.
- Scene Camera to Landmark
Position the scene camera at the selected landmark.
- Camera from Landmark
Create a new camera from the selected landmark.
- Type
- Scene Camera:
Follow the scene’s active camera to define the base pose of the viewer.
- Custom Object:
Set an arbitrary object to define the base pose of the viewer.
- Custom Pose:
Manually define a position and rotation to use as the base pose of the viewer.
Action Maps
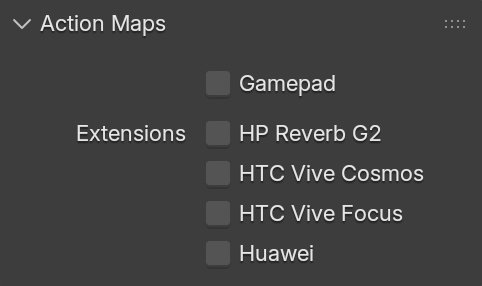
- Gamepad
Use input from a gamepad (Microsoft Xbox Controller) instead of motion controllers for VR actions such as viewport navigation.
- Extensions
Enable additional controller bindings to ensure correct input-to-action mappings. Note that a given extension may not be supported by all VR platforms.
- HP Reverb G2
Enable bindings for the HP Reverb G2 controllers.
- HTC Vive Cosmos
Enable bindings for the HTC Vive Cosmos controllers.
- HTC Vive Focus
Enable bindings for the HTC Vive Focus 3 controllers.
- Huawei
Enable bindings for the Huawei controllers.
Viewport Feedback
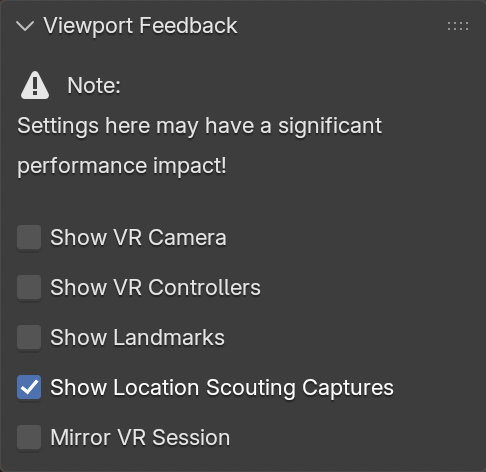
- Show VR Camera
Draw an indicator of the current VR viewer pose (location and rotation in the virtual space) in the current 3D Viewport.
- Show VR Controllers
Draw indicators of tracked VR motion controllers in the current 3D Viewport. Requires enabling the Use Controller Actions option.
- Show Location Scouting Captures
Draw Location Scouting capture indicators in the current 3D Viewport. The active capture is highlighted.
- Show Landmarks
Draw Landmarks indicators in the current 3D Viewport.
- Mirror VR Session
Make the current 3D Viewport follow the perspective of the VR view.
Preferences
Located in , the VR Navigation settings only appear when the add-on is enabled.

- Vignette Intensity
Adjusts the strength of the vignette effect applied during camera movement.
- Turn Speed
Controls how quickly the camera rotates during continuous turning.
- Turn Amount
Sets the rotation angle applied per step when using snap turning.
- Snap Turn
Toggles between smooth (continuous) and snap (discrete) camera turning.
- Invert Rotation
Reverses the direction of camera rotation controls.
Reference
- Category:
3D View
- Description:
Explore the 3D scene using virtual reality glasses (head-mounted displays).
- Location:
- File:
viewport_vr_preview folder
- Author:
Julian Eisel, Sebastian Koenig, Peter Kim, Jonas Holzman
- Maintainer:
Jonas Holzman
- License:
GPL
- Support Level:
Official
- Note:
This add-on is bundled with Blender.